-
Set SAML_DATABASE_URL to a Postgres database. Please use a different database than the main Cal instance since the migrations are separate for this database. For example
postgresql://postgres:@localhost:5450/cal-saml. If you are using a self-signed certificate for Postgres then use thesslmode=no-verifyquery param in the database URL. For examplepostgresql://postgres:@localhost:5450/cal-saml?sslmode=no-verify. -
Set SAML_ADMINS to a comma separated list of admin emails who can configure the OIDC.
-
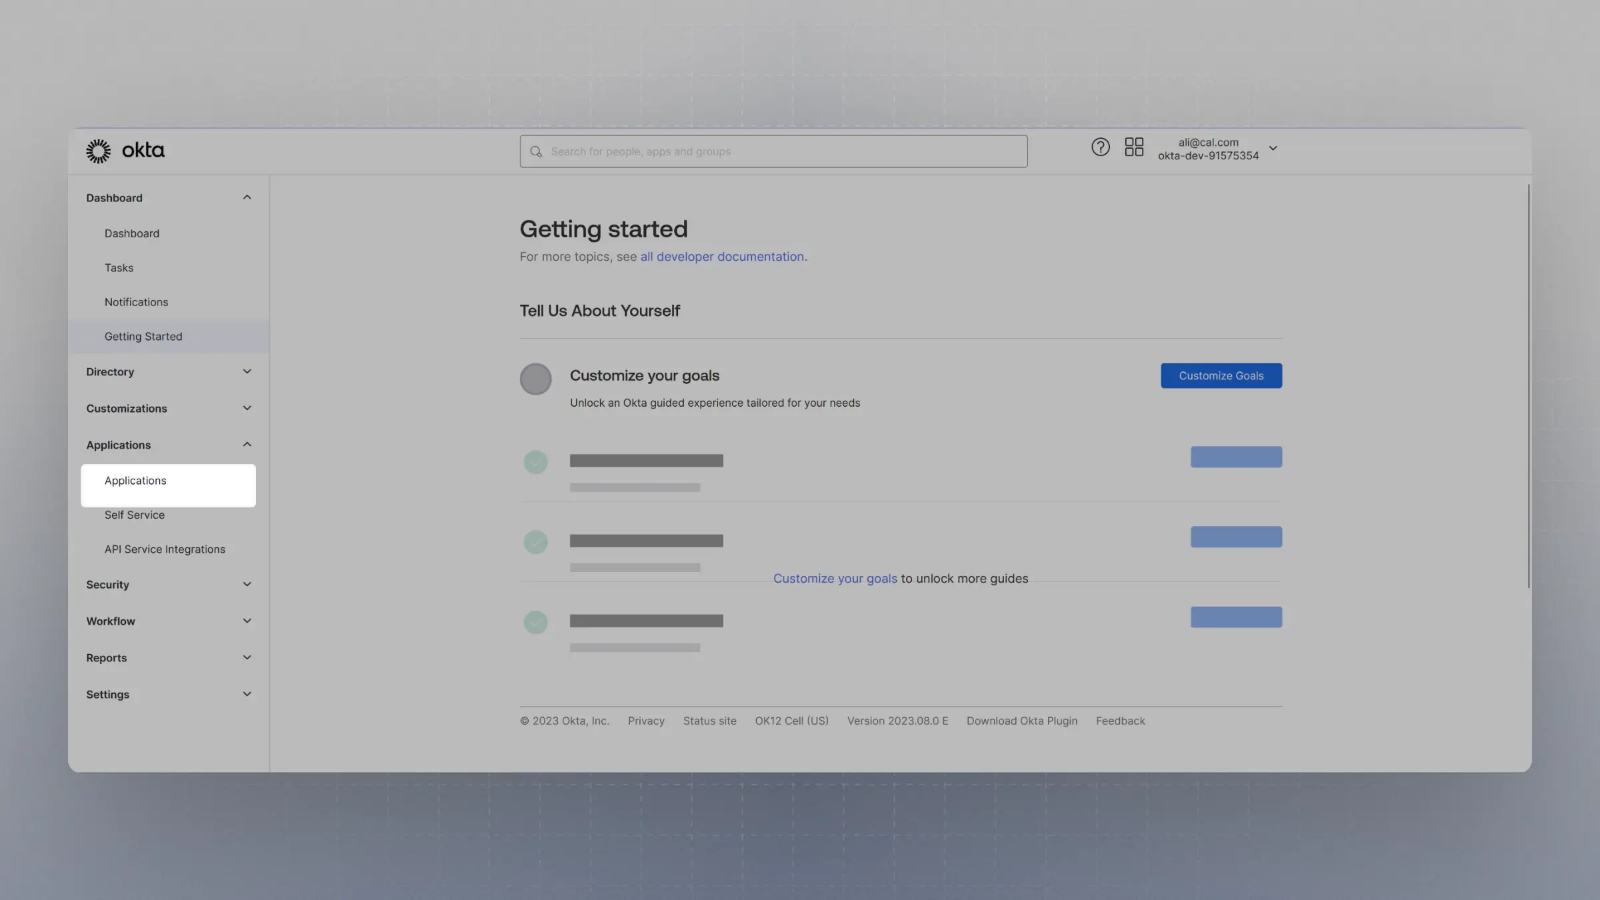
Create an application with your OIDC provider. For example, in Okta, once you create an account, you can click on Applications on the sidebar menu:
-
Click on
Create App Integration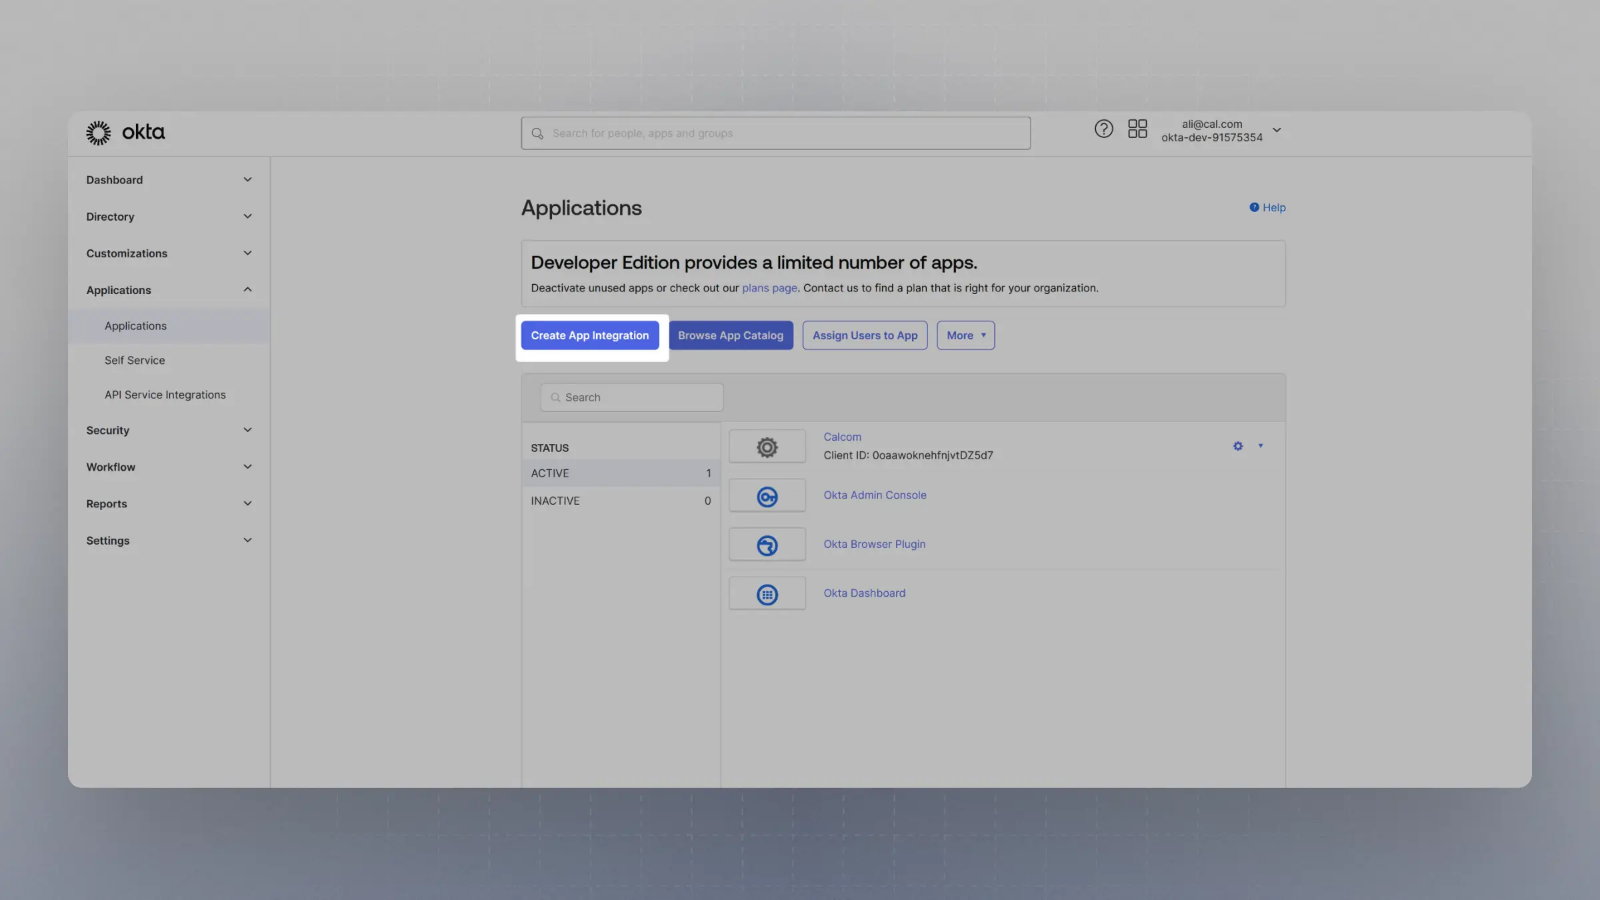
-
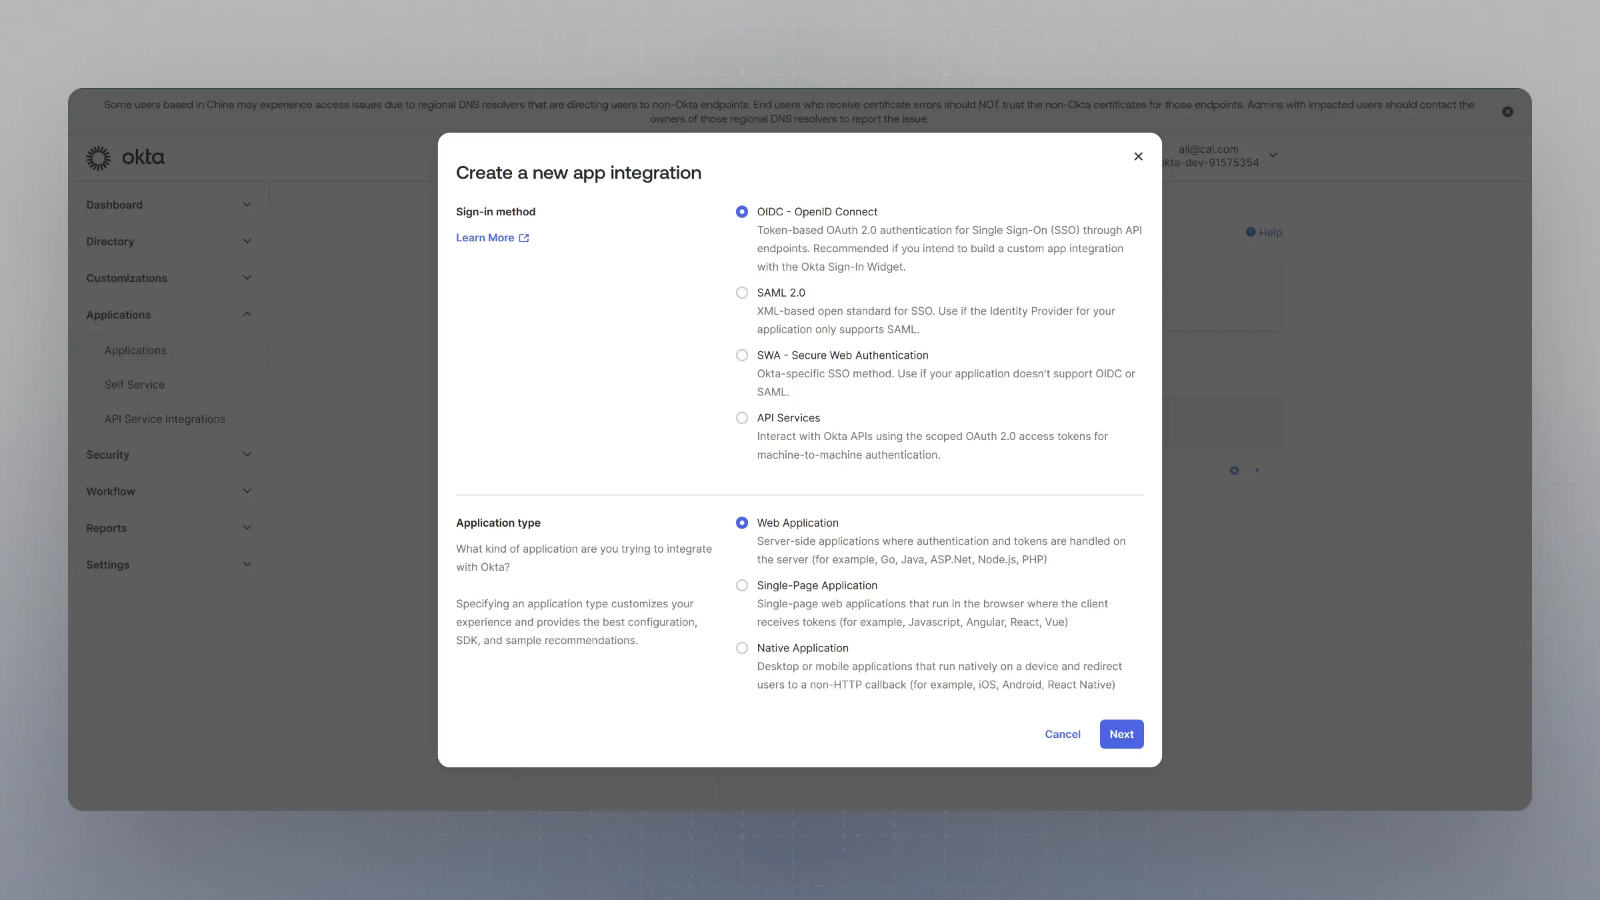
Select OIDC in the modal form, along with Web App and click Next.
-
Enter the Sign in redirect URL (or auth URL) as
{BASE_URL}/api/auth/oidcAnd the sign out URL as
{BASE_URL}/auth/loginwhere is your app’s base URL, and click save.
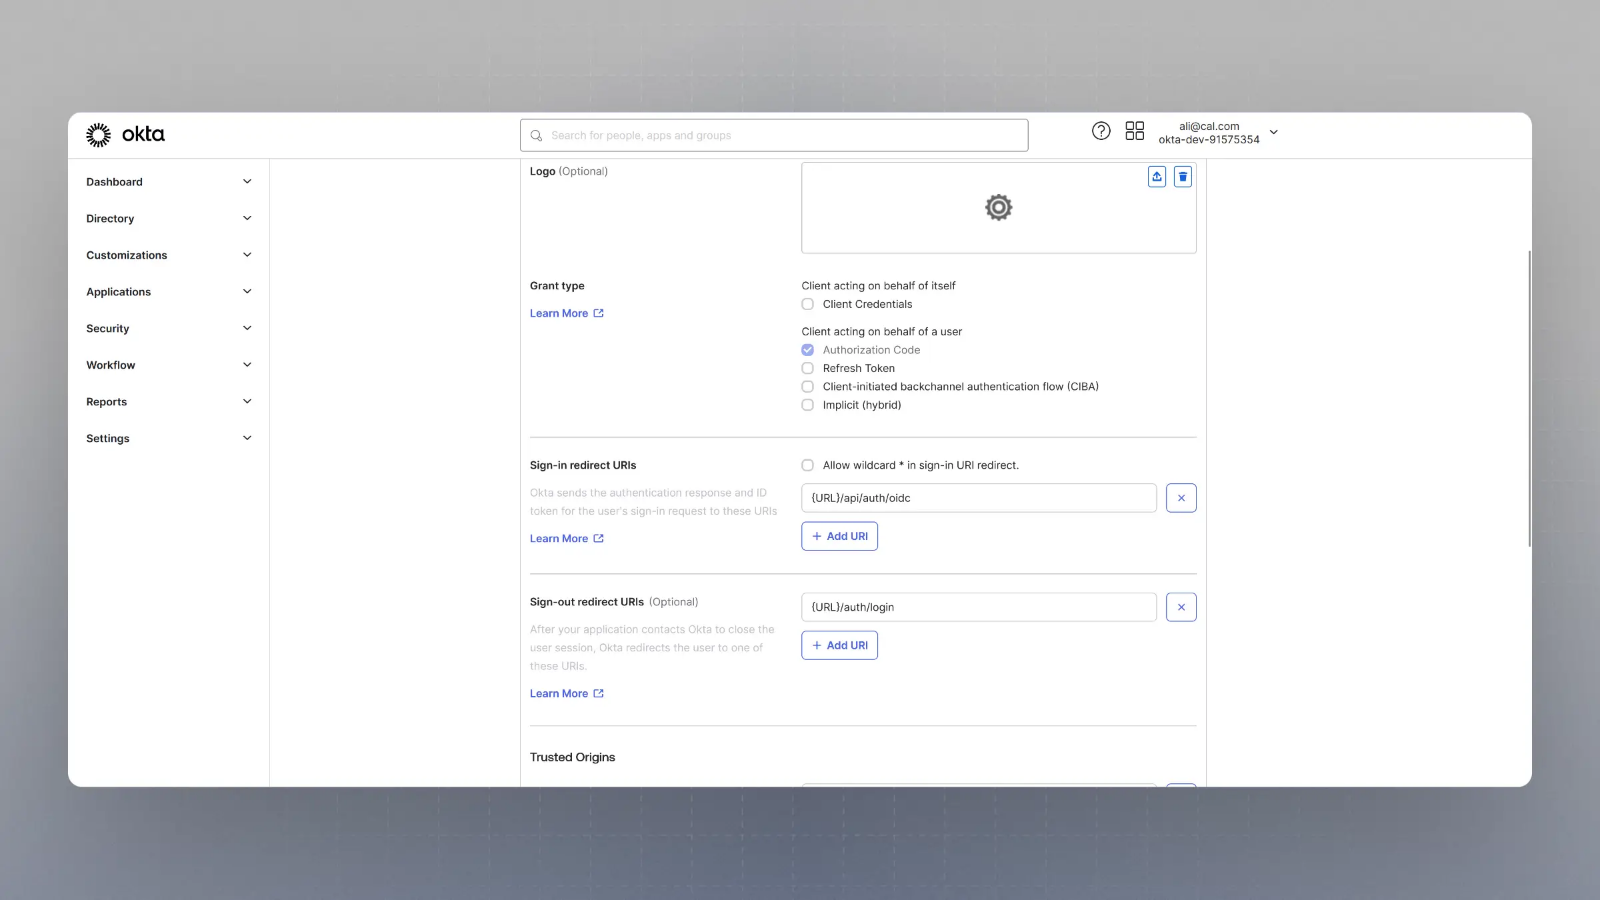
Please replace
{BASE_URL}here with respective URL, such aslocalhost:3000for localhost testing, for example. -
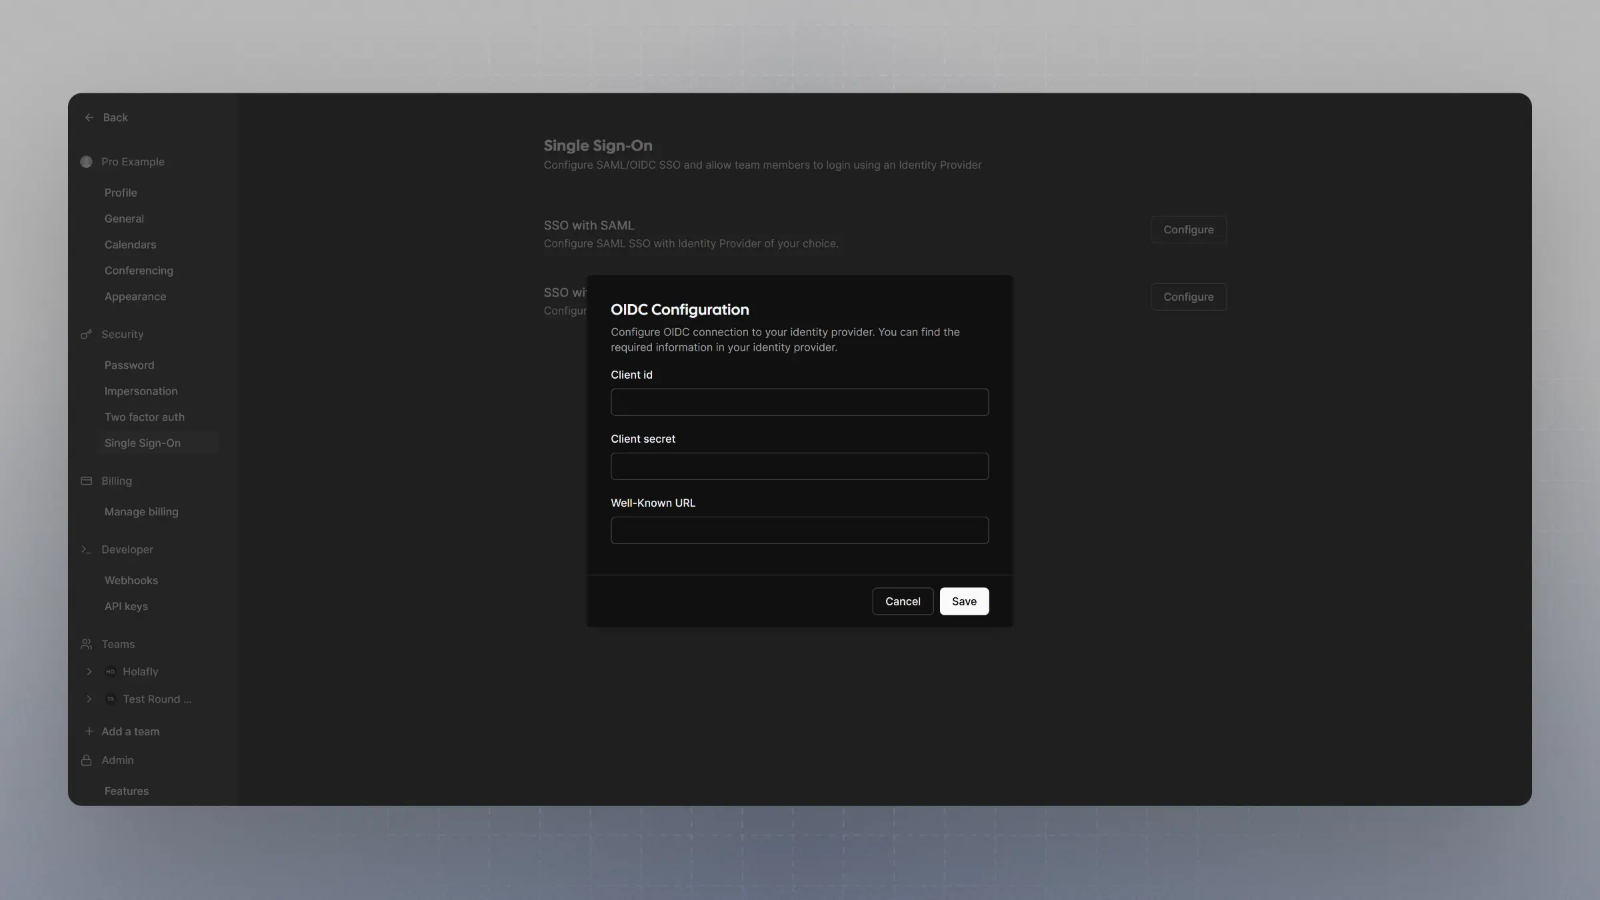
Now you should have the Client Secret and Client ID with you. You would also need the Well Known URL which for Okta is generally of the type:
https://{yourOktaDomain}/.well-known/openid-configurationSo, if your okta domain is
dev-123456.okta.com, your well known URL would behttps://dev-123456.okta.com/.well-known/openid-configuration -
Now spin up Schedly on your server and login with the Admin user (the email ID of which was provided in step 2 for SAML_ADMINS environment variable).
-
Visit
{BASE_URL}/settings/security/ssoand you should see something like this: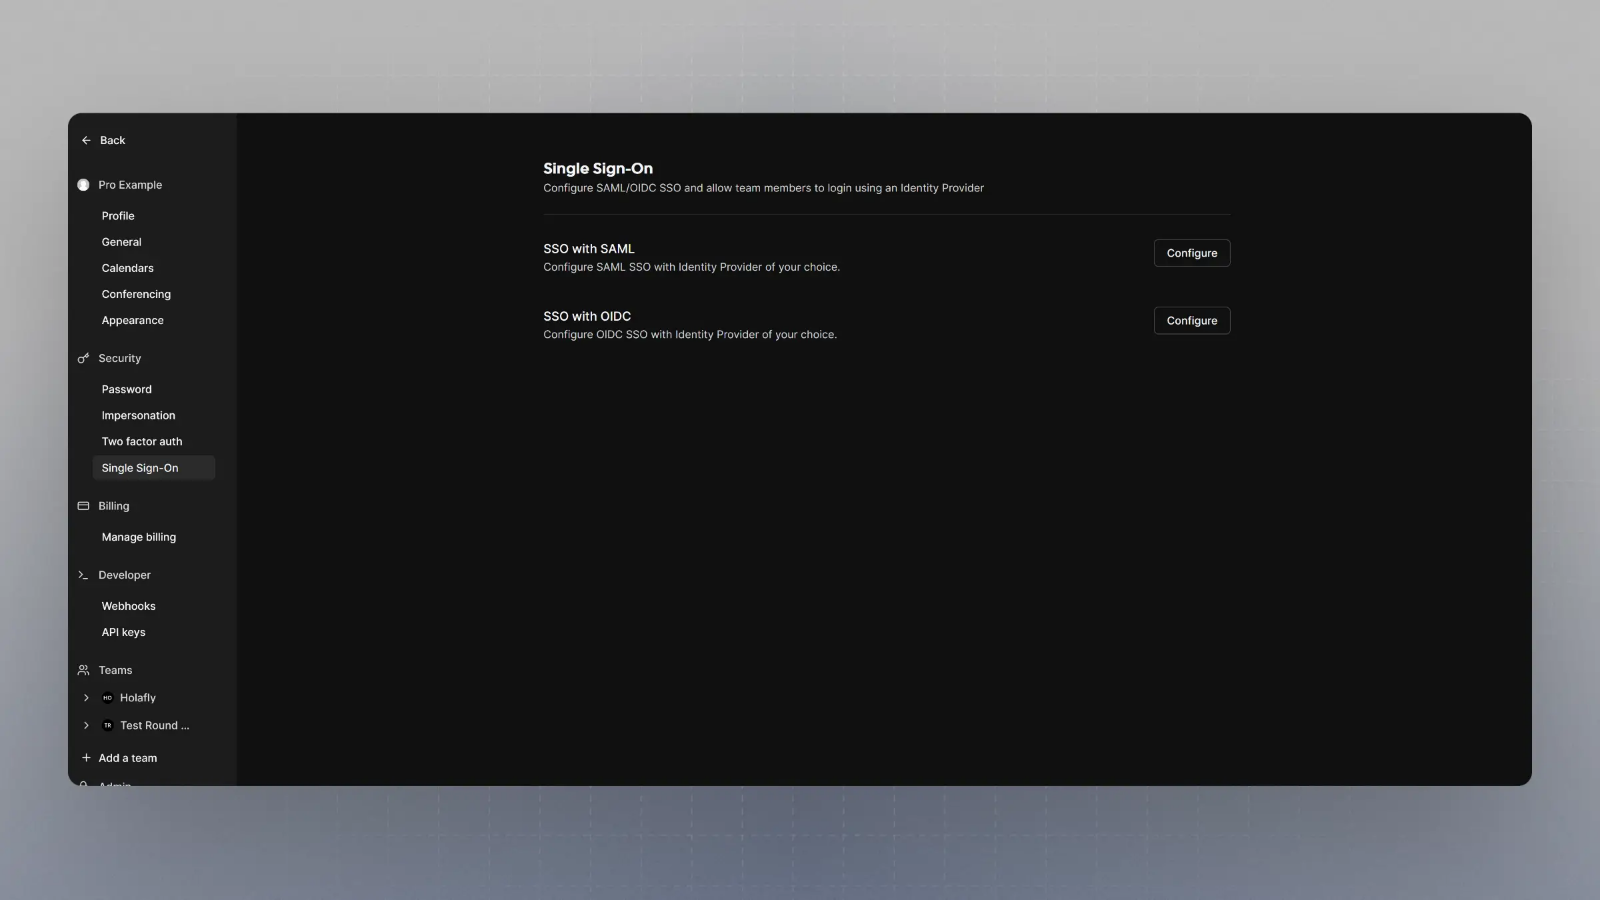
-
Click on Configure SSO with OIDC, and then enter the Client Secret, Client ID and Well known URL from the Step 7, and click save.
Setting up OIDC with Okta
Last updated on Aug 29, 2025